

THINKLETにインストールしたアプリケーションは、本体のボタンを設定することでボタンで起動することができるようになるけれど、ボタンに割り当てできるのは1つだけなので、複数のアプリケーションを起動できない。使うには事前に設定をしておかねばならない。
CWSを使うと、アプリケーションのインストールや起動の制御ができるようになるのだけれど、個人の通常のアプリ開発でそういった操作をするのも面倒だ。
scrcpyやTHINKLET viewerが使えるような状況ではそれを使ってGUI操作したらいいのだけれど、そうでない場合は、アプリケーションの切り替えができない。
Androidでは、USBデバイスのPIDを制御することで、USBの挿入をトリガーにアプリケーションを起動する方法が提供されている。あるものは使ってみるということで、簡単なPoCプロジェクトを作ってみた。うまく動作している。
PIDを出すマイコン側は前に書いた通り。
Flutterアプリも雑に作ってみたけど、普通に動作した。しかし、同じような3つのアプリを3つ用意するのも面倒なので、これを1つのソースにまとめてみることにした。ビルドオプションで切り替えてビルドできるようにする。
githubにプライベートプロジェクトを作る。
% mkdir thinklet_usbpid_switcher
% cd thinklet_usbpid_switcher
% echo "# thinklet_usbpid_switcher" >> README.md
% git init
% git add README.md
% git commit -m "first commit"
% git branch -M main
% git remote add origin git@github.com:kinneko/thinklet_usbpid_switcher.git
% git push -u origin main
とりあえず、作ったarduinoのスケッチを入れる。
% mkdir arduino
% vi arduino/ATOMS3LITE_USBPID_SWITCH.ino
% git add arduino arduino/ATOMS3LITE_USBPID_SWITCH.ino
% git commit -m "Ardinoプロジェクトを追加"
% git push -u origin main
Androidのディレクトリを追加。Flutterプロジェクトで初期化。
% mkdir android
% cd android
% flutter create --platforms=android --org com.kinneko.pid_test_app pid_test_app
% cd ..
% git add android
% git commit -m "Flutterプロジェクト追加(スケルトン)"
% git push -u origin main
% vi arduino/README.md
% git add arduino/README.md
% git commit -m "README追加"
% git push -u origin main
発声する音声と、画面表示ないようの違う3つのアプリA,B,Cを1つのFlutterソースコードから生成する。productFlavors+フレーバー別device_filter.xmlにして、Flutter 側は --dart-define で表示や音声を切り替えるのがいいかな。
フレーバーごとに表示名(アプリアイコン下の名前)を変えるには、AndroidManifest.xml を @string/app_name 参照にし、build.gradle で各フレーバーに resValue を与えるのが簡単です。
% cd android/pid_test_app
AndroidManifestを「android:label="@string/app_name"」にしておく。
% vi android/app/src/main/AndroidManifest.xml
<application
android:label="@string/app_name"
android:name="${applicationName}"
android:icon="@mipmap/ic_launcher">
...
</application>
build.gradle.ktsをフレーバー対応に書き換え。applicationIdSuffix は、ビルド時に defaultConfig.applicationId の末尾に文字列を付け足す。
% vi android/app/build.gradle.kts
android{}内に追記
// フレーバー
flavorDimensions += "mode"

productFlavors {
create("modeA") {
dimension = "mode"
applicationIdSuffix = ".a"
resValue("string", "PID_A_app", "USB PID A")
}
create("modeB") {
dimension = "mode"
applicationIdSuffix = ".b"
resValue("string", "PID_B_app", "USB PID B")
}
create("modeC") {
dimension = "mode"
applicationIdSuffix = ".c"
resValue("string", "PID_C_app", "USB PID C")
}
}
フレーバー別にデバイスフィルタを定義。
% vi android/app/src/main/res/values/strings.xml
<resources>
<string name="app_name">USB PID</string>
</resources>
% mkdir -p android/app/src/modeA/res/xml/
% vi android/app/src/modeA/res/xml/device_filter.xml
<resources>
<usb-device vendor-id="12936" product-id="16385"/>
</resources>
% mkdir -p android/app/src/modeB/res/xml/
% vi android/app/src/modeB/res/xml/device_filter.xml
<resources>
<usb-device vendor-id="12936" product-id="16386"/>
</resources>
% mkdir -p android/app/src/modeC/res/xml/
% vi android/app/src/modeC/res/xml/device_filter.xml
<resources>
<usb-device vendor-id="12936" product-id="16387"/>
</resources>
AndroidManifest.xmlの追記。USBの許可と、インテントフィルタの設定。
% git diff ./android/app/src/main/AndroidManifest.xml
diff --git a/android/pid_test_app/android/app/src/main/AndroidManifest.xml b/android/pid_test_app/android/app/src/main/AndroidManifest.xml
index e4b5784..b7256b4 100644
--- a/android/pid_test_app/android/app/src/main/AndroidManifest.xml
+++ b/android/pid_test_app/android/app/src/main/AndroidManifest.xml
@@ -1,6 +1,7 @@
<manifest xmlns:android="http://schemas.android.com/apk/res/android">
+    <uses-feature android:name="android.hardware.usb.host" />
<application
-        android:label="pid_test_app"
+        android:label="@string/app_name"
android:name="${applicationName}"
android:icon="@mipmap/ic_launcher">
<activity
@@ -23,7 +24,11 @@
<intent-filter>
<action android:name="android.intent.action.MAIN"/>
<category android:name="android.intent.category.LAUNCHER"/>
+                <action android:name="android.hardware.usb.action.USB_DEVICE_ATTACHED" />
</intent-filter>
+            <meta-data
+                android:name="android.hardware.usb.action.USB_DEVICE_ATTACHED"
+                android:resource="@xml/device_filter" />
</activity>
<!-- Don't delete the meta-data below.
This is used by the Flutter tool to generate GeneratedPluginRegistrant.java -->
音声データの追加。
% vi pubspec.yaml
flutter:
assets:
- assets/voice/
% mkdir -p assets/voice/
cp ~/Download/a.wav ~/Download/b.wav ~/Download/c.wav assets/voice/
% ls assets/voice
a.wav b.wav c.wav
audioplayersライブラリパッケージの追加。
% flutter pub add audioplayers
メインプログラム。
% vi lib/main.dart
import 'package:flutter/material.dart';
import 'package:audioplayers/audioplayers.dart';

const letter = String.fromEnvironment('LETTER', defaultValue: 'A');
const soundPath = String.fromEnvironment('SOUND', defaultValue: 'voice/a.wav');
const bgColorHex = String.fromEnvironment('BG', defaultValue: 'FFDBEAFE');
// 8桁HEXをColorへ
Color _parseHexColor(String hex) {
final s = hex.replaceAll('#', '');
final v = int.tryParse(s, radix: 16);
return v == null ? const Color(0xFFDBEAFE) : Color(v);
}
Future<void> main() async {
WidgetsFlutterBinding.ensureInitialized();
runApp(const App());
}
class App extends StatefulWidget {
const App({super.key});
@override
State<App> createState() => _AppState();
}
class _AppState extends State<App> with WidgetsBindingObserver {
final AudioPlayer _player = AudioPlayer();
DateTime? _lastPlay;
static const _cooldown = Duration(milliseconds: 800); // 連続再生抑止
@override
void initState() {
super.initState();
WidgetsBinding.instance.addObserver(this);
_player.setReleaseMode(ReleaseMode.stop);
_play(); // 起動時
}
@override
void dispose() {
WidgetsBinding.instance.removeObserver(this);
_player.dispose();
super.dispose();
}
@override
void didChangeAppLifecycleState(AppLifecycleState state) {
if (state == AppLifecycleState.resumed) {
_play(); // フロントに戻ったら再生
}
}
Future<void> _play() async {
final now = DateTime.now();
if (_lastPlay != null && now.difference(_lastPlay!) < _cooldown) return;
_lastPlay = now;

try {
await _player.stop(); // 念のため前回を停止
await _player.play(AssetSource(_sound));    // pubspec: assets/voice/
} catch (_) {
// 必要ならログ
}
}
@override
Widget build(BuildContext context) {
return const MaterialApp(
home: Scaffold(
backgroundColor: _parseHexColor(_bgHex),
body: Center(
child: Text(
_letter,
style: const TextStyle(fontSize: 240, fontWeight: FontWeight.bold),
),
),
),
);
}
}
これだとAアプリ以外のパラメータはビルド時に--dart-defineを使ってコマンドラインで渡す必要があってめんどくさいことがわかった。オプションの違いが、コード内ではどこにも定義されていないから、それも運用がどうかと思ったりする。
package_info_plusプラグインパッケージを使って、applicationIdSuffixで付けたパッケージ名をDart側で読み取り、A/B/C を出し分けるようにする。
% flutter pub add package_info_plus
% cat lib/main.dart
import 'package:flutter/material.dart';
import 'package:audioplayers/audioplayers.dart';
import 'package:package_info_plus/package_info_plus.dart';

Future<void> main() async {
WidgetsFlutterBinding.ensureInitialized();
runApp(const App());
}
class App extends StatefulWidget {
const App({super.key});
@override
State<App> createState() => _AppState();
}
class _AppState extends State<App> with WidgetsBindingObserver {
final AudioPlayer _player = AudioPlayer();
DateTime? _lastPlay;
static const _cooldown = Duration(milliseconds: 800);
// 出し分け用の状態
String _letter = 'A';
String _sound = 'voice/a.wav';
Color _bg = const Color(0xFFDBEAFE); // 薄い青
@override
void initState() {
super.initState();
WidgetsBinding.instance.addObserver(this);
_player.setReleaseMode(ReleaseMode.stop);
_initByPackage(); // パッケージ名でモード決定 → 再生
}
Future<void> _initByPackage() async {
final info = await PackageInfo.fromPlatform();
final id = info.packageName; // 例: com.example.usbauto.a / .b / .c
// applicationIdSuffix に合わせて分岐
if (id.endsWith('.a')) {
_letter = 'A';
_sound  = 'voice/a.wav';
_bg = const Color(0xFFDBEAFE); // 薄い青
} else if (id.endsWith('.b')) {
_letter = 'B';
_sound  = 'voice/b.wav';
_bg = const Color(0xFFDCFCE7); // 薄い緑
} else if (id.endsWith('.c')) {
_letter = 'C';
_sound  = 'voice/c.wav';
_bg = const Color(0xFFFEE2E2); // 薄い赤
} else {
// デフォルト(suffixなし等)
_letter = 'A';
_sound  = 'voice/a.wav';
_bg     = const Color(0xFFDBEAFE);
}
if (mounted) {
setState(() {});
_play();
}
}
@override
void dispose() {
WidgetsBinding.instance.removeObserver(this);
_player.dispose();
super.dispose();
}
@override
void didChangeAppLifecycleState(AppLifecycleState state) {
if (state == AppLifecycleState.resumed) {
_play();
}
}
Future<void> _play() async {
final now = DateTime.now();
if (_lastPlay != null && now.difference(_lastPlay!) < _cooldown) return;
_lastPlay = now;

try {
await _player.stop();
await _player.play(AssetSource(_sound)); // pubspec: assets/voice/
} catch (_) {}
}
@override
Widget build(BuildContext context) {
return MaterialApp(
home: Scaffold(
backgroundColor: _bg,
body: Center(
child: Text(
_letter,
style: const TextStyle(fontSize: 240, fontWeight: FontWeight.bold),
),
),
),
);
}
}
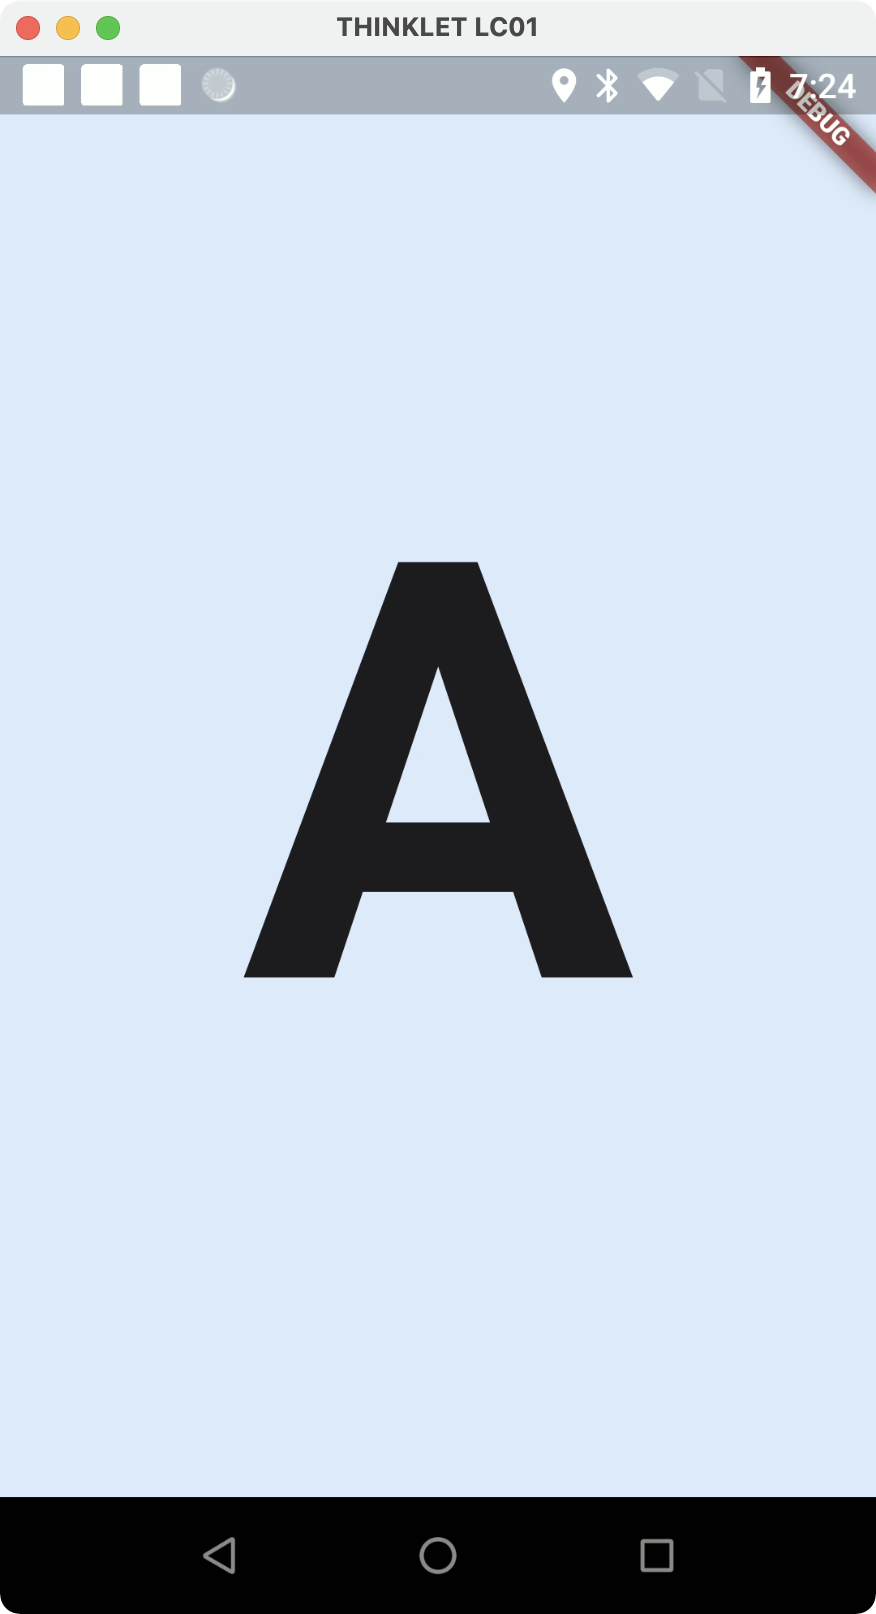
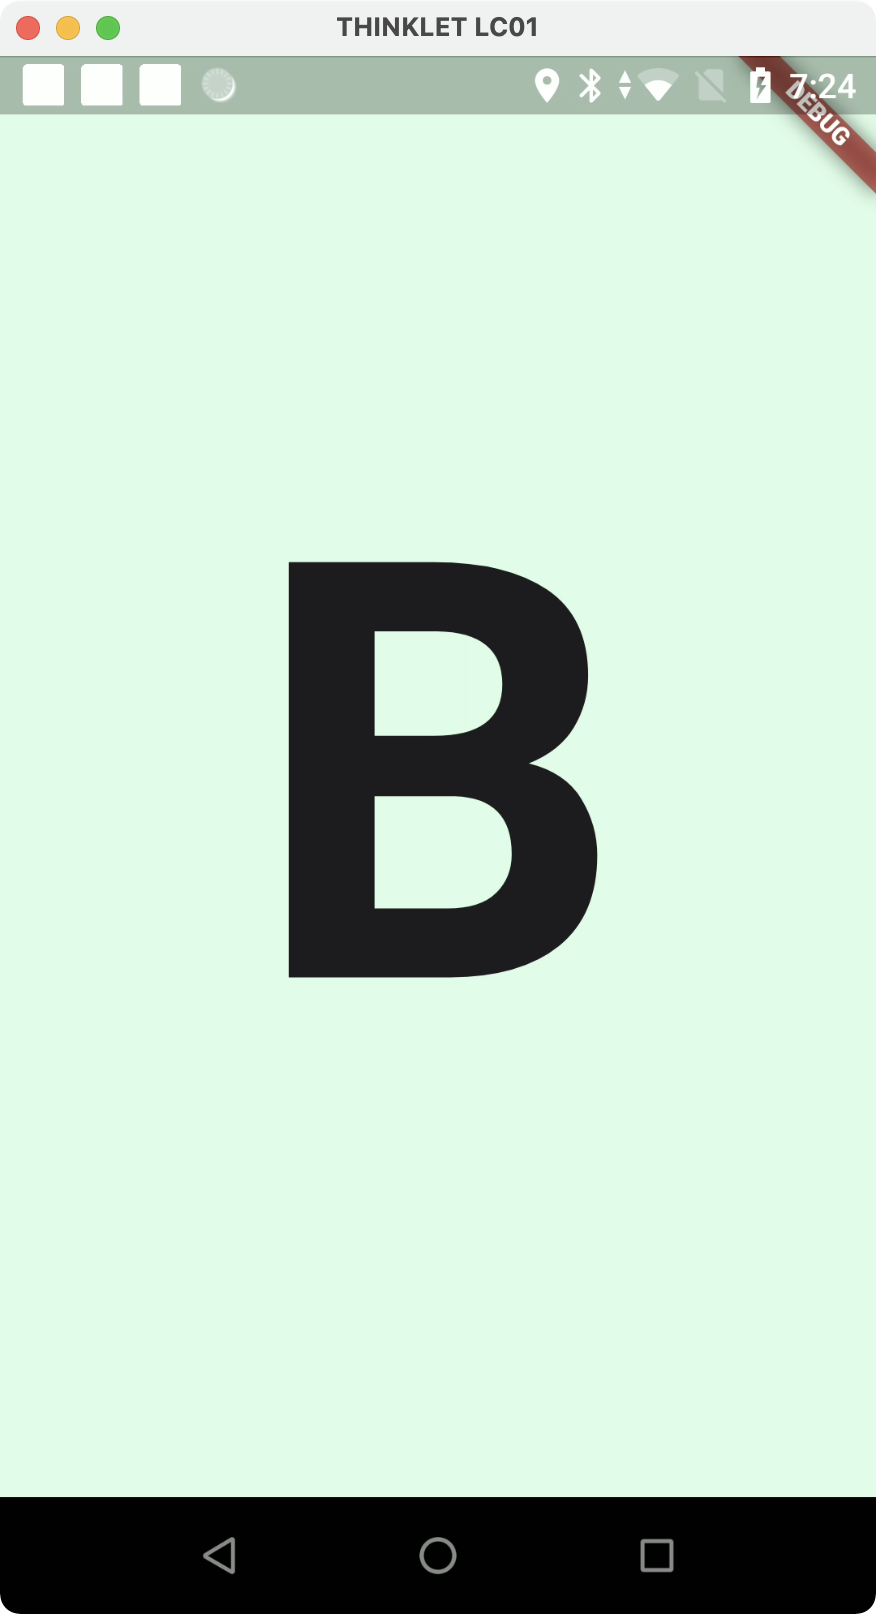
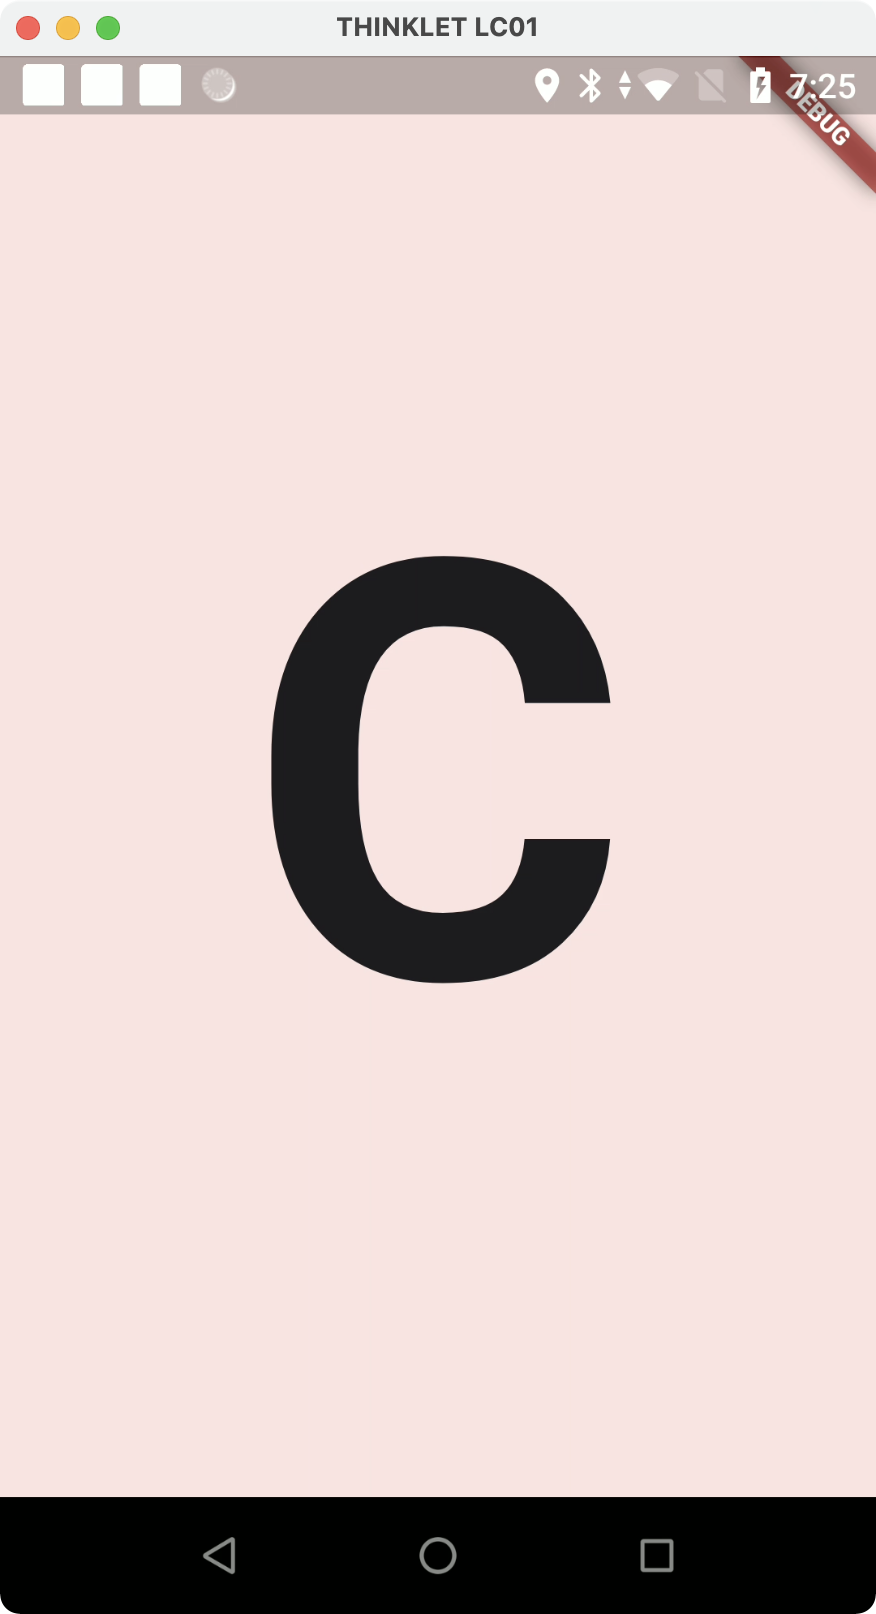
ビルドのテスト。成功している。
% flutter run --flavor modeA
% flutter run --flavor modeB
% flutter run --flavor modeC
リリースビルドとインストール。
% flutter build apk --flavor modeA --release
% flutter build apk --flavor modeB --release
% flutter build apk --flavor modeC --release
% adb install -r build/app/outputs/flutter-apk/app-modea-release.apk
Performing Streamed Install
Success
% adb install -r build/app/outputs/flutter-apk/app-modeb-release.apk
Performing Streamed Install
Success
% adb install -r build/app/outputs/flutter-apk/app-modec-release.apk
Performing Streamed Install
Success
表示アプリ名がUSB PID固定になってるな... どっか間違っている。
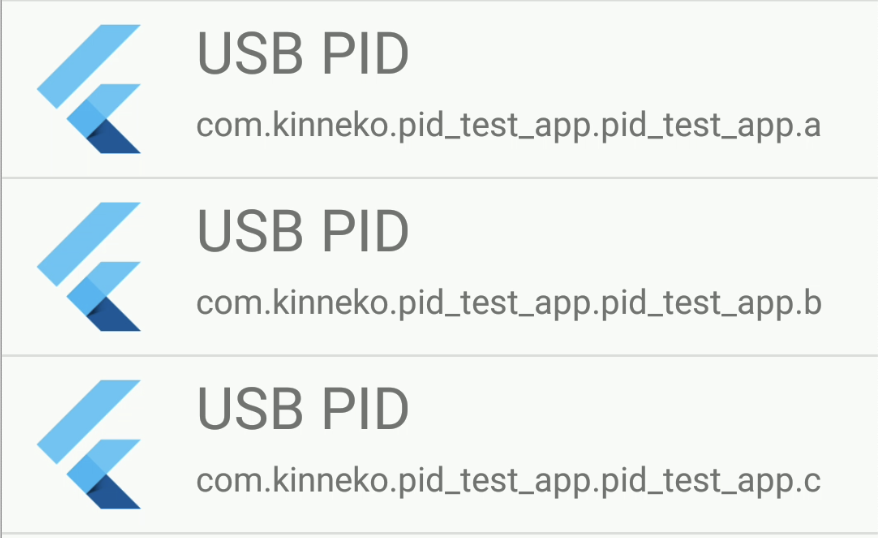
android/app/build.gradle.ktsでandroid:labelが@string/app_nameを見ているなら、各フレーバーで上書くキーも app_name にする必要がある。
書き換え。
productFlavors {
create("modeA") {
dimension = "mode"
applicationIdSuffix = ".a"
resValue("string", "app_name", "USB PID A")
}
create("modeB") {
dimension = "mode"
applicationIdSuffix = ".b"
resValue("string", "app_name", "USB PID B")
}
create("modeC") {
dimension = "mode"
applicationIdSuffix = ".c"
resValue("string", "app_name", "USB PID C")
}
}
3つとも再インストールする。
% flutter build apk --flavor modeA --release
% adb install -r build/app/outputs/flutter-apk/app-modea-release.apk
Performing Streamed Install
Success
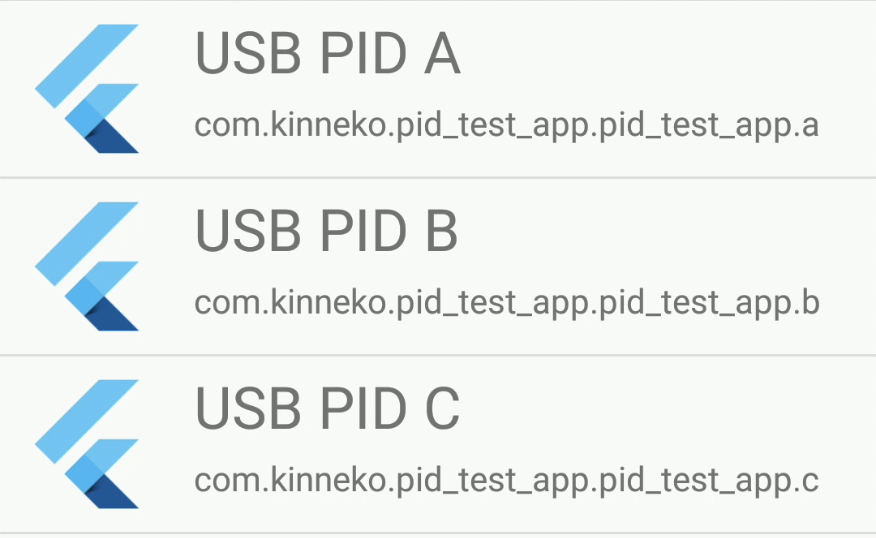
できた。
% git add android/pid_test_app/android/app/build.gradle.kts android/pid_test_app/android/app/src/main/AndroidManifest.xml android/pid_test_app/lib/main.dart android/pid_test_app/pubspec.yaml android/pid_test_app/android/app/src/main/res/values/strings.xml android/pid_test_app/android/app/src/modeA/res/xml/device_filter.xml android/pid_test_app/android/app/src/modeB/res/xml/device_filter.xml android/pid_test_app/android/app/src/modeC/res/xml/device_filter.xml android/pid_test_app/assets/voice/
% git commit -m "アプリ本体と設定の追加"
% git push -u origin main
FlutterのREADMEのアップデート。
% vi android/pid_test_app/README.md
---
USB PIDの認識状態に応じて起動するアプリケーションサンプルです。
A,B,Cの3つのアプリケーションを1つのソースコードからビルドします。
```
% flutter build apk --flavor modeA --release
% flutter build apk --flavor modeB --release
% flutter build apk --flavor modeC --release
```
---
% git add android/pid_test_app/README.md
% git commit -m "アプリのREADMEに追記"
% git push -u origin main
% vi README.md
---
- 挿入されたUSB PIDによって起動するアプリケーションを切り替えるPoCです。
---
% git add README.md
% git commit -m "READMEに 追記"
% git push -u origin main
テスト。
% cd ~/Downloads
% git clone git@github.com:kinneko/thinklet_usbpid_switcher.git
Cloning into 'thinklet_usbpid_switcher'...
remote: Enumerating objects: 106, done.
remote: Counting objects: 100% (106/106), done.
remote: Compressing objects: 100% (62/62), done.
remote: Total 106 (delta 11), reused 105 (delta 10), pack-reused 0 (from 0)
Receiving objects: 100% (106/106), 348.79 KiB | 700.00 KiB/s, done.
Resolving deltas: 100% (11/11), done.
% cd thinklet_usbpid_switcher
% cd android/pid_test_app
ビルドとインストールのテストは成功。
連携で動かないよ... 紐付け画面が出ない。
MAIN/LAUNCHER と USB の intent-filter を分離
% vi android/app/src/main/AndroidManifest.xml
<intent-filter>
<action android:name="android.intent.action.MAIN" />
<category android:name="android.intent.category.LAUNCHER" />
</intent-filter>
<intent-filter>
<action android:name="android.hardware.usb.action.USB_DEVICE_ATTACHED" />
<category android:name="android.intent.category.DEFAULT" />
</intent-filter>
<meta-data
android:name="android.hardware.usb.action.USB_DEVICE_ATTACHED"
android:resource="@xml/device_filter" />
あいたた、VIDは13000だった。
% adb shell dumpsys usb | grep "My "
/dev/bus/usb/001/002: UsbDevice[mName=/dev/bus/usb/001/002,mVendorId=13000,mProductId=16386,mClass=239,mSubclass=2,mProtocol=1,mManufacturerName=My Company,mProductName=AtomS3 Lite - Mode B,mVersion=2.0,mSerialNumber=B08184952EE4,mConfigurations=[
- Manufacturer 1: My Company Product 2: AtomS3 Lite - Mode B
書き換える。B,Cも同様に変更。
% vi android/app/src/modeA/res/xml/device_filter.xml
<resources>
<usb-device vendor-id="13000" product-id="16385"/>
</resources>
ビルドとインストールし直し。
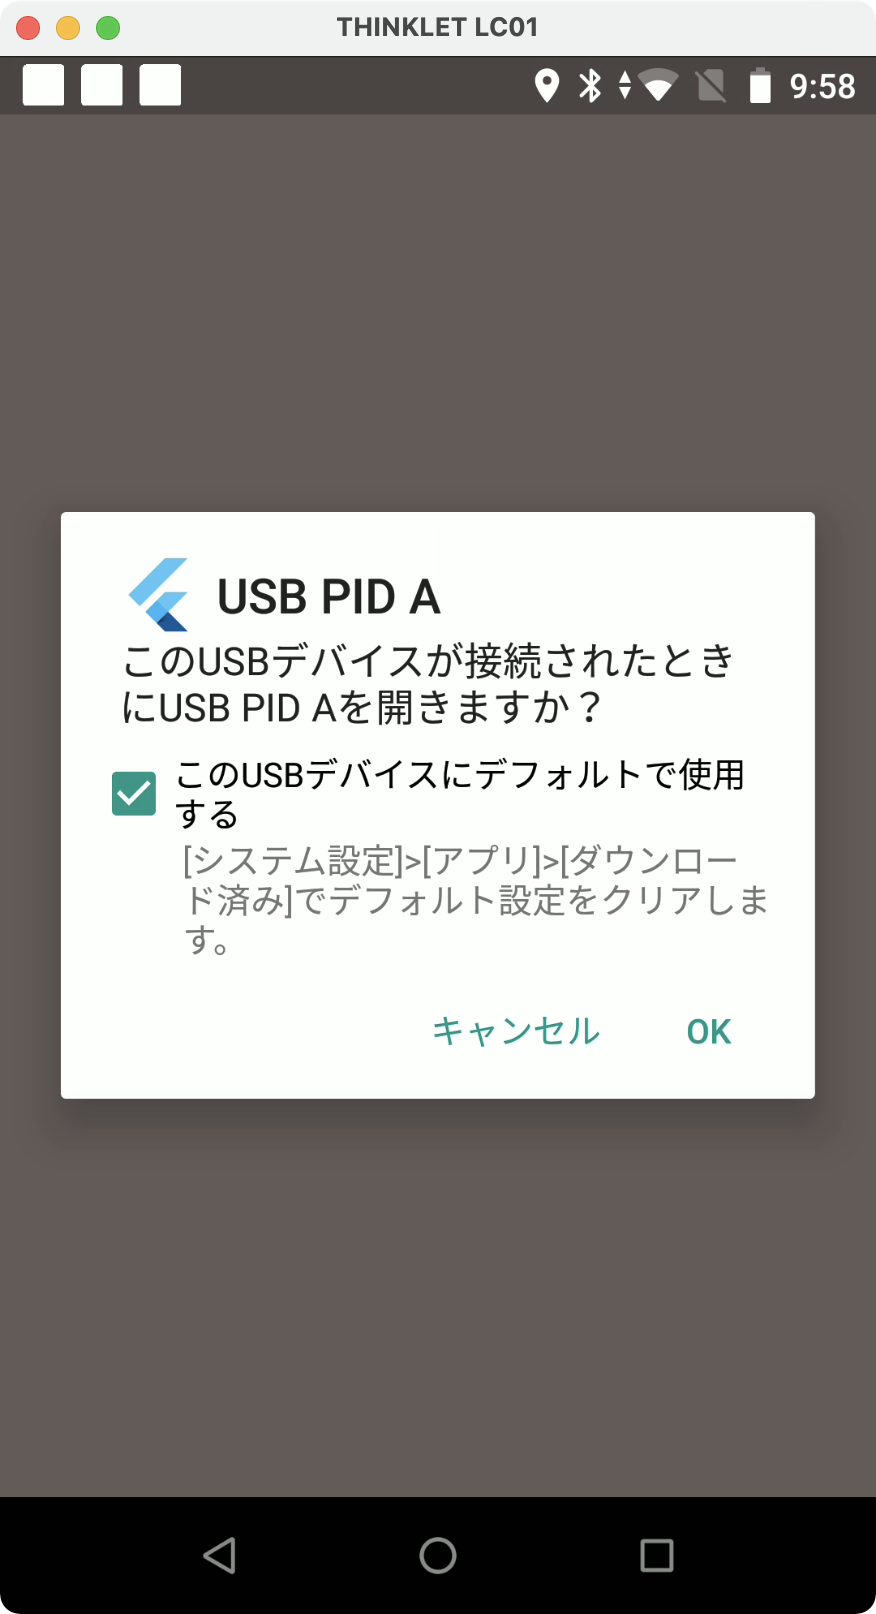
出た出た。
% git add android/pid_test_app/android/app/src/main/AndroidManifest.xml android/pid_test_app/android/app/src/modeA/res/xml/device_filter.xml android/pid_test_app/android/app/src/modeB/res/xml/device_filter.xml android/pid_test_app/android/app/src/modeC/res/xml/device_filter.xml
% git commit -m "VID10進間違い修正, intent-filter を分離"
% git push -u origin main
アプリのバージョン。変える必要はなかった。
% vi android/pid_test_app/pubspec.yaml
version: 1.0.0+1
リリースを打つ。コミットなしにはlogに残るリリースは打てないので、CHANGELOGを作る。。
% echo "## v1.0.0 - 2025-09-06" >> CHANGELOG.md
% git add CHANGELOG.md
% git commit -m "release: v1.0.0"
% git tag -a v1.0.0 -m "Release v1.0.0"
% git push && git push --tags
なんか、1つのソースから3つのアプリを生成するというのも結構面倒だった。なんでも1つにまとめておきたいというプログラマな病には罹患してしないので、バラバラでソース持っても別にいいような。
あと、プライベートプロジェクトでも、更新するとGithubのグラフが緑になるとは知らなかったわ。
adbの使えないLINKLETでもこの方法でアプリの切り替えはできるのだけど、残念ながらGUIを使う方法がないので、アプリとの紐付けを承認する方法がないのな。無念。
そっちを先に書いてしまったのだけど、zennの会社ブログのほうで簡単な解説は出る予定です。
100円投げ銭 https://kinneko.booth.pm/items/1963720
オリジナル投稿:
thinklet_usbpid_switcher|kinneko|pixivFANBOX
https://kinneko.fanbox.cc/posts/10527266